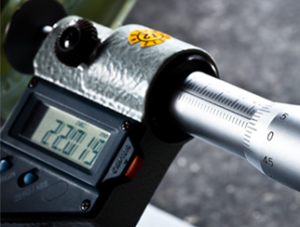
Virtual Inspection Gauges
ShapeGrabber automated 3D scanners can be used in manufacturing environments to eliminate the need for many traditional go/ no go inspection gauges. 
By virtualizing multiple inspection gauges on a single ShapeGrabber scanner, manufacturers can cut costs in a number of areas while increasing production efficiencies and satisfying quality requirements.
Hard Gauge vs. Virtual Gauge Comparison
The following table compares a traditional hard gauge to a virtual gauge set up in a ShapeGrabber 3D scanner:
Go/No Go Gauge |
Virtual Gauge |
|
| Design & build time per gauge: | 3 months typical | 8 hours typical |
| Setup resources required: | Engineering and manufacturing resources to design and build gauge. | Technician to create inspection procedure. |
| Number of dimensions that can be inspected: | Same number the gauge is designed for – usually 5-10 dimensions. | Complete part comparison to 3D model, GD&T measurements, plus unlimited individual measurements. |
| Number of different parts that can be inspected: | One part type per gauge. | Unlimited number of parts within scan volume. |
| Inspection speed: | A few minutes typical. | A few minutes typical, including data recording. |
| Reports: | Typically manual. | Automatically generated. |
| Storage requirements: | Large number of gauges to warehouse & handle. | Many fewer multi-purpose 3D scanners. |
| Calibration requirements: | Yearly calibration for large number of gauges. | Yearly calibration for a few scanners. |
Cut Costs, Improve Efficiencies
Once a virtual gauge is set up, an operator simply places the part in the scanner and selects the inspection project – the automated 3D scanner does the rest.
These advantages allow manufacturers to:
Slash costs, including those associated with:
- Designing and manufacturing hard gauges. For large gauges, this may amount to tens of thousands of dollars in savings per gauge.
- Storing/warehousing large gauges.
- Transporting and setting up large gauges.
- Calibration of gauges
Increase production efficiencies. Eliminate delays due to time-consuming gauge modifications, late delivery of gauges, or faulty gauges.
Improve quality and customer responsiveness. With a virtual gauge, there is no limit to the dimensions that can be inspected and measured. When “inspection creep” occurs, or as customer requirements shift, there are no large costs associated with measuring new dimensions.
Reduce human error. Automation reduces the need for operator manipulation and subjectivity. Automatic reporting is fast and makes go/no go decisions fast and easy.

Please contact ShapeGrabber to discuss your specific needs.
Request Information